Welcome to our step-by-step guide on cleaning your portable blender! Keeping your blender clean is essential for ensuring your smoothies and blends taste fresh every time. In this article, we will walk you through the easy and effective process of cleaning your portable blender so you can enjoy your favorite drinks without any worries of residue or build-up. Let’s get started!
Step-by-Step Guide to Cleaning Your Portable Blender
Have you ever wondered how to properly clean your portable blender after using it to make your favorite smoothie or protein shake? In this step-by-step guide, we will walk you through the entire cleaning process to ensure that your blender stays in top condition and ready for your next delicious creation!
Cleaning Supplies You Will Need
Before we dive into the cleaning process, let’s make sure you have all the necessary supplies on hand. Here is a list of items you will need to clean your portable blender effectively:
- Warm, soapy water
- Dishwashing brush or sponge
- Small brush (such as a bottle brush)
- Soft cloth or paper towels
- Vinegar or baking soda (optional for deep cleaning)
Make sure you have all these supplies ready before you start cleaning your portable blender to ensure a thorough and efficient cleaning process.
Disassembling Your Portable Blender
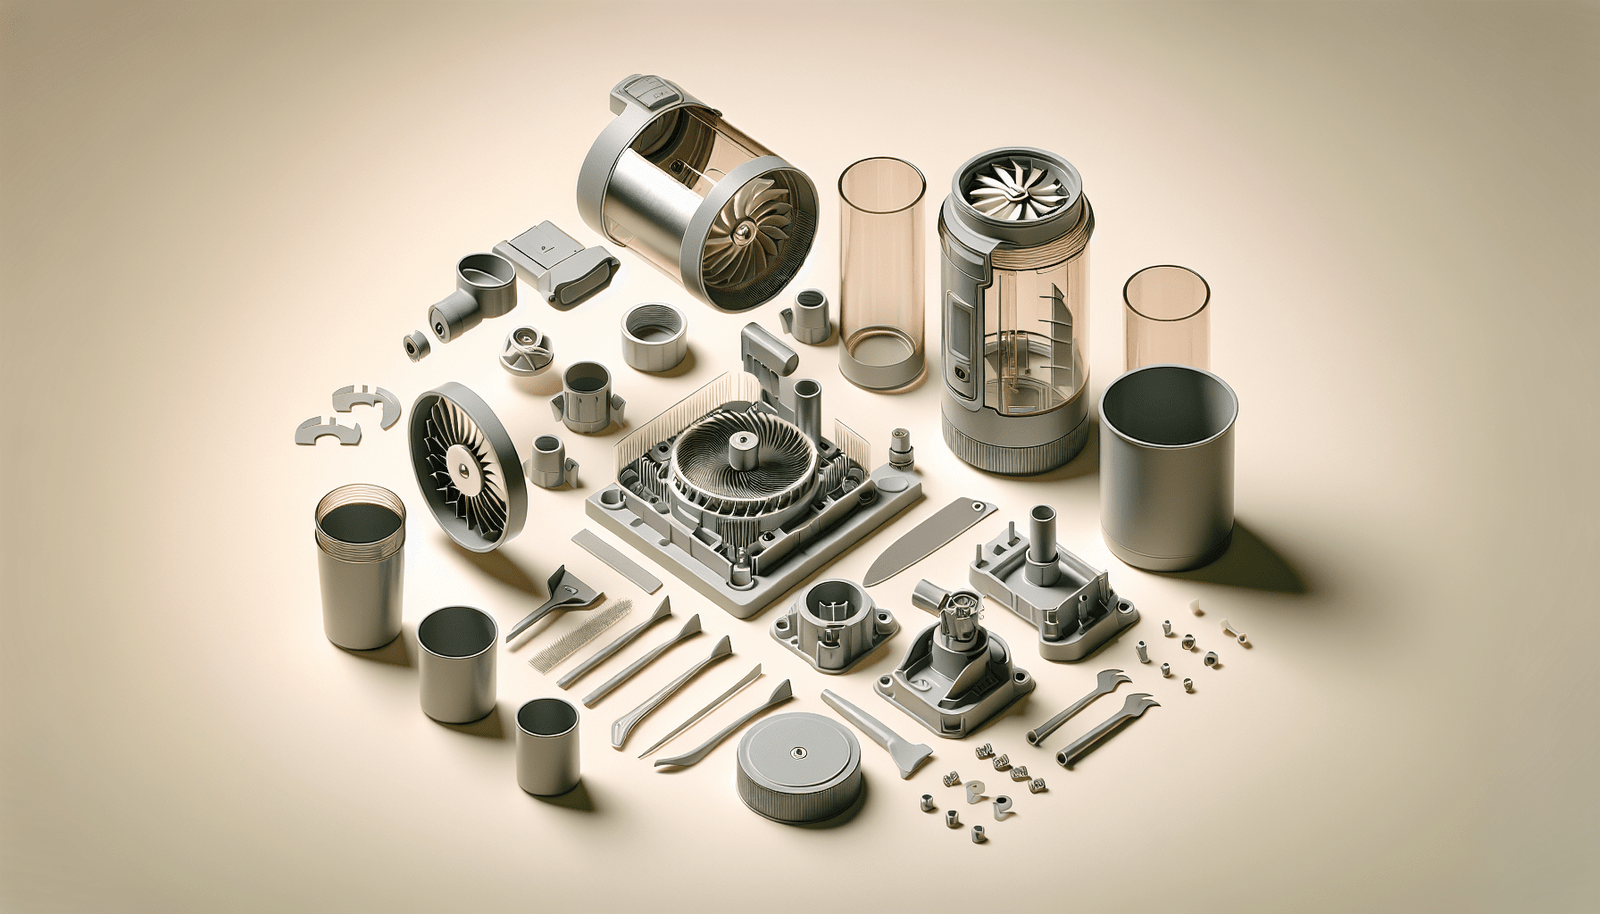
The first step in cleaning your portable blender is to disassemble all its parts. Depending on the model of your blender, this may include removing the blade assembly, cup, lid, and any other detachable components. Carefully remove each part and place them on a clean surface to prepare for cleaning.
Disassembling your blender allows you to access all the nooks and crannies where food residue may be hiding. It also makes it easier to clean each individual part thoroughly to prevent any lingering odors or flavors from affecting your future blends.
Cleaning the Blade Assembly
The blade assembly is one of the most critical components of your portable blender, as it is responsible for blending and chopping ingredients. To clean the blade assembly effectively, follow these steps:
- Carefully remove the blade assembly from the cup by twisting it counterclockwise.
- Rinse the blade assembly under warm water to remove any visible food residue.
- Use a dishwashing brush or sponge to scrub the blades gently, making sure to reach all areas.
- For tough stains or buildup, soak the blade assembly in warm, soapy water for a few minutes before scrubbing again.
- Rinse the blade assembly thoroughly and dry it with a soft cloth or paper towel before reassembling it into the cup.
Cleaning the blade assembly regularly helps prevent food residue from hardening and affecting the blender’s performance. Make sure to clean the blades after each use to keep your portable blender in top condition.
Cleaning the Cup and Lid
The cup and lid of your portable blender are where you mix and store your ingredients, making them prone to food residue buildup. Here’s how you can clean the cup and lid effectively:
- Fill the cup with warm, soapy water and let it sit for a few minutes to loosen any food residue.
- Use a small brush, such as a bottle brush, to scrub the interior of the cup and the underside of the lid.
- Rinse the cup and lid under warm water to remove soap residue and any remaining food particles.
- Wipe the exterior of the cup and lid with a soft cloth or paper towel to remove any spills or stains.
- Allow the cup and lid to air dry completely before reassembling them with the blade assembly.
Regularly cleaning the cup and lid of your portable blender helps prevent odors and stains from developing over time. Make sure to clean these components thoroughly after each use to maintain a fresh and hygienic blender.
Cleaning the Base of Your Portable Blender
The base of your portable blender houses the motor and control buttons, making it essential to keep it clean and free of any spills or debris. Here’s how you can clean the base of your blender effectively:
- Unplug the blender from the power source to ensure safety during cleaning.
- Dampen a soft cloth with warm, soapy water and wipe down the exterior of the base to remove any spills or stains.
- Use a small brush or toothbrush to clean around the control buttons and crevices where dirt may accumulate.
- Wipe the base with a clean, damp cloth to remove any soap residue and dry it thoroughly with a soft cloth or paper towel.
- Once the base is dry, plug the blender back in and run it for a few seconds to ensure that it is functioning correctly after cleaning.
Regularly cleaning the base of your portable blender helps prevent dust and spills from affecting its performance and lifespan. Make sure to clean the base as part of your routine blender maintenance to keep it in top condition.
Deep Cleaning Your Portable Blender
In addition to regular cleaning after each use, it’s essential to deep clean your portable blender periodically to remove any stubborn stains or odors. Here are some methods you can use to deep clean your blender:
Using Vinegar
- Fill the cup of your portable blender halfway with white vinegar.
- Add warm water to the cup until the blades are fully submerged.
- Let the vinegar solution sit in the cup for 30 minutes to one hour to break down any buildup or stains.
- Rinse the cup thoroughly under warm water and allow it to air dry completely before reassembling it with the blade assembly.
Using Baking Soda
- Sprinkle a generous amount of baking soda into the cup of your portable blender.
- Add warm water to the cup to create a paste-like consistency with the baking soda.
- Use a dishwashing brush or sponge to scrub the interior of the cup and the blade assembly.
- Rinse the cup thoroughly under warm water to remove any baking soda residue and dry it with a soft cloth or paper towel before reassembling it.
Deep cleaning your portable blender with vinegar or baking soda helps remove tough stains and odors, leaving your blender fresh and ready for your next blend. Make sure to deep clean your blender at least once a month to maintain its optimal performance.
Reassembling Your Portable Blender
After cleaning all the components of your portable blender, it’s time to reassemble them to ensure that your blender is ready for future use. Follow these steps to reassemble your blender correctly:
- Place the blade assembly back into the cup and twist it clockwise to secure it in place.
- Ensure that the cup and lid are clean and dry before attaching them to the blade assembly.
- Align the lid with the cup and twist it clockwise to lock it in place securely.
- Once all components are properly assembled, plug the blender back in and make sure it is functioning correctly before using it for your next blend.
Properly reassembling your portable blender after cleaning ensures that all components are secure and free of any residue that may affect your blends. Make sure to follow the reassembly steps each time you clean your blender to maintain its optimal performance.
Maintaining Your Portable Blender
Cleaning your portable blender regularly and thoroughly is essential to maintaining its performance and longevity. Here are some tips to help you keep your blender in top condition:
- Clean your blender after each use to prevent food residue from hardening and affecting its performance.
- Deep clean your blender with vinegar or baking soda at least once a month to remove tough stains and odors.
- Store your portable blender in a dry place away from direct sunlight and heat to prevent mold or mildew growth.
- Replace any worn or damaged parts of your blender, such as seals or gaskets, to prevent leaks or malfunctions.
- Follow the manufacturer’s instructions for cleaning and maintenance to ensure that you are caring for your blender properly.
By following these tips and regularly cleaning your portable blender, you can enjoy delicious and healthy blends for years to come. Happy blending!